Process
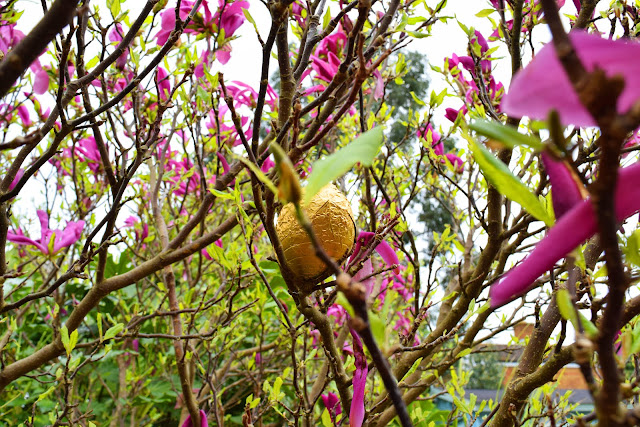
- Insert image into Photoshop CC 2014.
- Increase the images saturation and lightness and then increase its contrast and brightness.
Black and White

Process
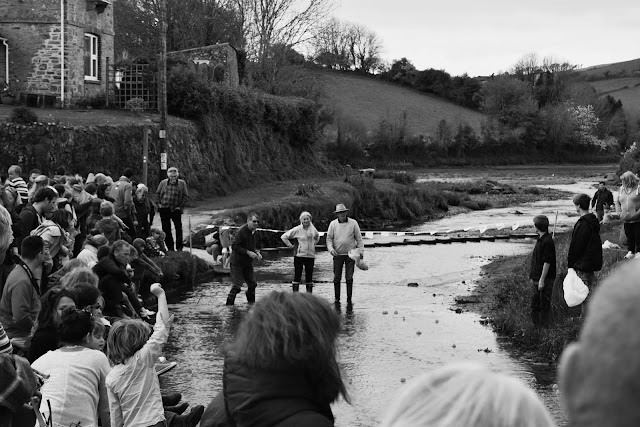
- Insert image into Photoshop CC 2014.
- Decrease the images saturation and lightness and then increase its contrast and brightness.
Filter Gallery Sponge

Process
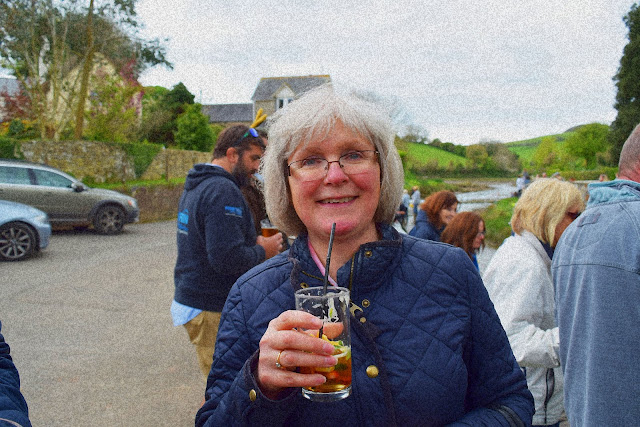
- Insert image into Photoshop CC 2014.
- Increase the images saturation and lightness and then increase its contrast and brightness.
- Open the filter gallery and select the sponge filter to achieve a grainy effect.
Colour Mask

Process
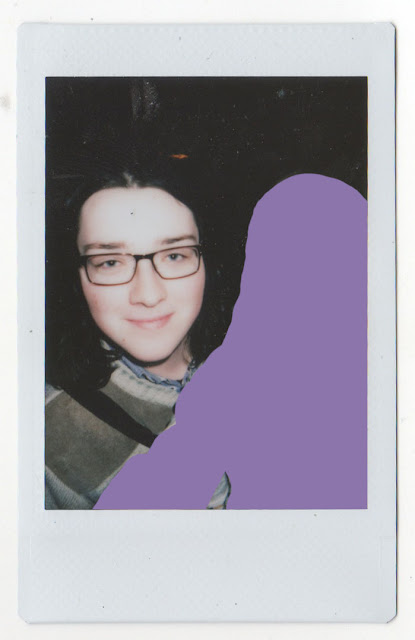
- Insert image into Photoshop CC 2014.
- Create a new layer.
- Create a rectangular mask tool.
- Select a brush with a 100% hardness and of an appropriate size in order to capture all of the subjects edges.
- Select an appropriate colour and fill in the area where the subject is present.
- Crop the image as desired.
Text overlay
Process
- Open the image into Photoshop CC 2014.
- Add a text layer and write out the word selected by the subject.
- Select an appropriate font and resize to fit the image.
- Select the text and invert the selection.
- Decrease the images saturation around the text.

No comments:
Post a Comment